1. 시크릿 키 세팅
1. 배포할 깃허브 레포지토리 > Settings로 이동한다.

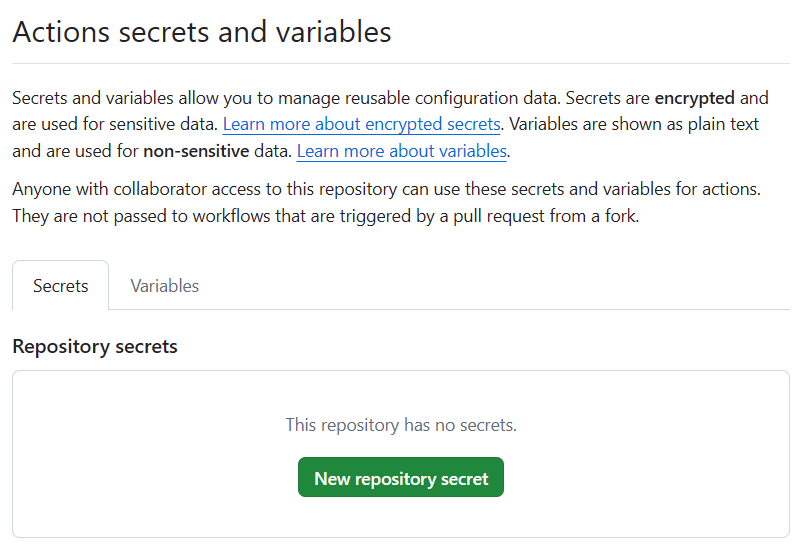
2. 아래 Secrets and variables > Actions로 이동한다.
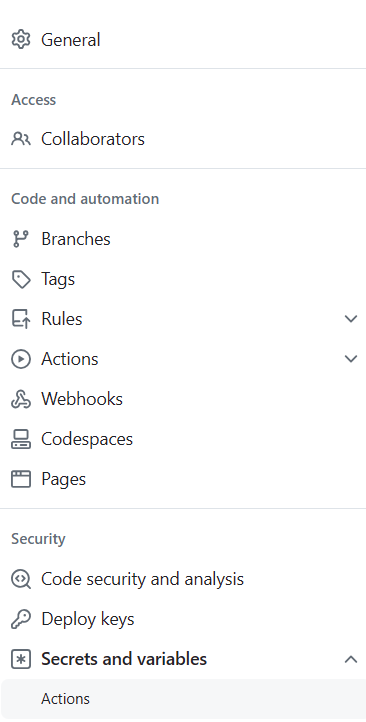
3. New repository secret를 클릭한다.
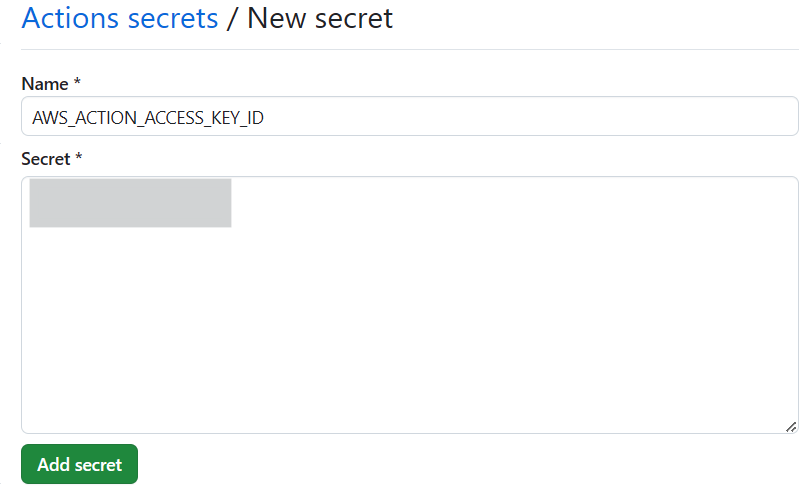
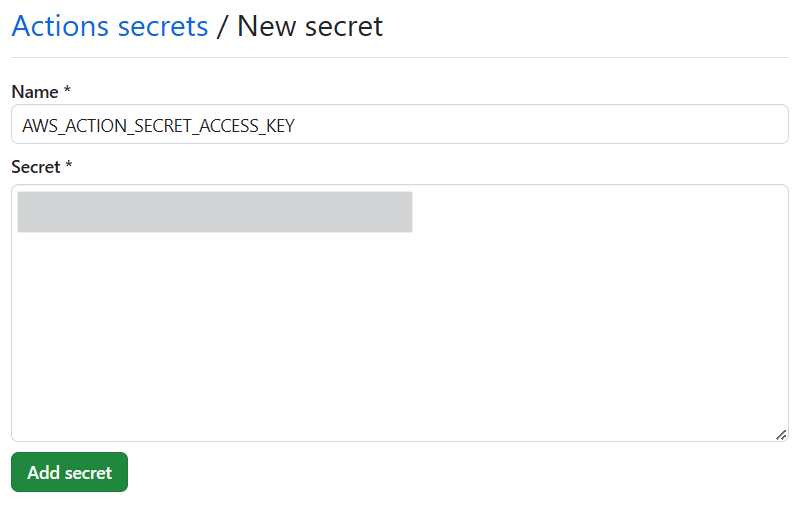
4. 만들었던 사용자 액세스 키를 등록한다.
- 나는 Access key ID 이름을 AWS_ACTION_ACCESS_KEY_ID
- Secret access key를 AWS_ACTION_SECRET_ACCESS_KEY로 설정했다.
2. 프로젝트 세팅
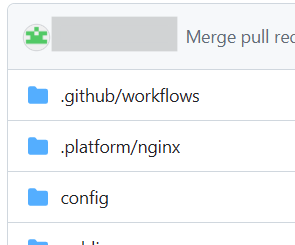
0. 내 프로젝트 구조는 다음과 같다.
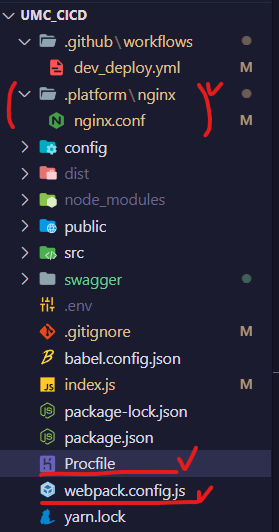
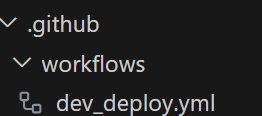
1. 리포지토리의 root 경로에 .github 폴더를 만든다.
2. .github 폴더 안에 workflows 폴더를 만들고 그 안에 dev_deploy.yml 를 생성한다.
3. dev_deploy.yml 안에 아래 내용을 입력한다.
- 보면 ${{ secrets.AWS_ACTION_ACCESS_KEY_ID }}, ${{ secrets.AWS_ACTION_SECRET_ACCESS_KEY }}이 있다.
- 이게 바로 위에 등록했던 키 이름들 (달라지면 github action 때 실행 실패함)
name: Node.js Dev CI/CD

on:
  pull_request:
    types: [ closed ]
  workflow_dispatch:

jobs:
  build:
    if: github.event.pull_request.merged == true && github.event.pull_request.base.ref == 'dev'

    runs-on: ubuntu-latest

    strategy:
      matrix:
        node-version: ['20.x']

    steps:
      - uses: actions/checkout@v4
      # Node.js 세팅
      - name: Set up Node.js ${{ matrix.node-version }}
        uses: actions/setup-node@v3
        with:
          node-version: ${{ matrix.node-version }}
          cache: 'npm'

      - name: Install Node.js ${{ matrix.node-version }}
        uses: actions/setup-node@v3
        with:
          node-version: ${{ matrix.node-version }}


      # Download AWS CLI 2
      - name: Install AWS CLI 2
        run: |
          curl "https://awscli.amazonaws.com/awscli-exe-linux-x86_64.zip" -o "awscliv2.zip"
          unzip awscliv2.zip
          which aws
          sudo ./aws/install --bin-dir /usr/local/bin --install-dir /usr/local/aws-cli --update

      # Configure AWS credentials
      - name: Configure AWS credentials
        uses: aws-actions/configure-aws-credentials@v2
        with:
          aws-access-key-id: ${{ secrets.AWS_ACTION_ACCESS_KEY_ID }}
          aws-secret-access-key: ${{ secrets.AWS_ACTION_SECRET_ACCESS_KEY }}
          aws-region: ap-northeast-2

      # npm install for ci
      - run: |
          npm install
          npm install moment-timezone


      # Build
      - run: npm run build
      # Unit test
      #- run: npm run test:unit

      - name: Generate deployment package
        run: |
          cp -R .platform dist
          cp package.json dist/package.json
          cp package-lock.json dist/package-lock.json
          cp Procfile dist/Procfile
          cp -r swagger dist
          cd dist
          zip -r deploy.zip .

      - name: Get Zip Inside
        run: zipinfo -1 dist/deploy.zip

      # 현재 시간 얻기 (Build 시점의 시간 얻기)
      - name: Get current time
        uses: 1466587594/get-current-time@v2
        id: current-time
        with:
          format: YYYY-MM-DDTHH-mm-ss
          utcOffset: "+09:00" # 한국 시간 고려

      # 현재 시간 출력 (위에서 얻은 build 시점의 시간 보여주기)
      - name: Show Current Time
        run: echo "CurrentTime=${{steps.current-time.outputs.formattedTime}}"
        shell: bash

      # Deploy to Elastic Beanstalk
      - name: Deploy to EB
        uses: einaregilsson/beanstalk-deploy@v22
        with:
          aws_access_key: ${{secrets.AWS_ACTION_ACCESS_KEY_ID}}
          aws_secret_key: ${{secrets.AWS_ACTION_SECRET_ACCESS_KEY}}
          application_name: Project-dev
          environment_name: Project-dev-env
          region: ap-northeast-2
          deployment_package: dist/deploy.zip
          use_existing_version_if_available: true
          version_label: github-action-${{ steps.current-time.outputs.formattedTime }}
          wait_for_deployment: false

      - name: Deployed!
        run: echo App deployed to ELB
** 여기서
jobs:
  build:
    if: github.event.pull_request.merged == true && github.event.pull_request.base.ref == 'dev'
이 코드는 dev 브랜치로 머지했을 때만 작동하게 한다는 뜻!! main 브랜치로 바로 머지한다면 main으로 바꿔야 함!!!
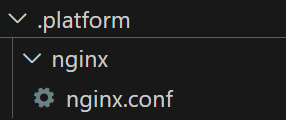
4. 리포지토리의 root 경로에 .platform 폴더를 만든다.
5. nginx 폴더를 만들고 그 안에 nginx.conf을 입력한다.
6. 안에 내용은 아래처럼 입력한다.
user                    nginx;
error_log               /var/log/nginx/error.log warn;
pid                     /var/run/nginx.pid;
worker_processes        auto;
worker_rlimit_nofile    33282;

events {
    use epoll;
    worker_connections  1024;
    multi_accept on;
}

http {
    types_hash_max_size 2048;
    types_hash_bucket_size 128;
    include       /etc/nginx/mime.types;
    default_type  application/octet-stream;

    log_format  main    '$remote_addr - $remote_user [$time_local] "$request" '
                        '$status $body_bytes_sent "$http_referer" '
                        '"$http_user_agent" "$http_x_forwarded_for"';

    include       conf.d/*.conf;

    map $http_upgrade $connection_upgrade {
        default     "upgrade";
    }

    upstream node {
        server 127.0.0.1:3000;
        keepalive 1024;
    }

    server {
        listen        80 default_server;
        listen        [::]:80 default_server;
        client_body_buffer_size 50m;

        location / {
            proxy_pass          http://node;
            proxy_http_version  1.1;
            proxy_set_header    Connection          $connection_upgrade;
            proxy_set_header    Upgrade             $http_upgrade;

            proxy_set_header    Host                $host;
            proxy_set_header    X-Real-IP           $remote_addr;
            proxy_set_header    X-Forwarded-For     $proxy_add_x_forwarded_for;

            # Added buffer related settings
            proxy_buffers 32 128k;
            proxy_buffer_size 256k;

            # Set appropriate timeout values
            proxy_read_timeout          30s;  # Adjust as needed
            proxy_send_timeout          30s;  # Adjust as needed
        }

        access_log    /var/log/nginx/access.log main;

        gzip                  off;
        gzip_comp_level       4;

        # Include the Elastic Beanstalk generated locations
        include conf.d/elasticbeanstalk/healthd.conf;
    }
}
7. root 경로에 Procfile을 추가한다.

8. 코드는 아래처럼 추가한다.
web: npm install & npm run start
9. root 경로에 webpack.config.js를 추가한다.

10. 관련 모듈을 설치한다.
npm install -D webpack webpack-cli webpack-node-externals
11. 코드는 아래처럼 추가한다.
import nodeExternals from "webpack-node-externals";
import path from "path";

export default {
    mode: "development",
    entry: {
        app: './index.js',
    },
    output: {
        path: path.resolve('./dist'),
        filename: "main.cjs",
    },
    module: {
        rules: [
            {
                test: /\.js$/,
                use: {
                    loader: "babel-loader",
                    options: {
                        presets: ["@babel/preset-env"],
                    },
                },
                exclude: /node_modules/,
            },
        ],
    },
    target: "node",
    externalsPresets: {
        node: true,
    },
    externals: [nodeExternals()],
};
12. package.json에 관련 설정을 추가한다.
  "scripts": {
    "build": "webpack --mode production",
    "test": "echo \"Error: no test specified\" && exit 1",
    "start:dev": "nodemon --exec babel-node index.js",
    "start:dist": "webpack --mode production & node ./dist/main.js",
    "start": "node main.cjs"
  },
  "type": "module",
3. health check용 API 작성
0. 전에 health check용 경로를 /health로 했기 때문에 관련 API 만들어야 한다.
1. index.js
//(...)
app.use('/health', healthRoute);

app.get('/', (req, res, next) => {
    res.send(response(status.SUCCESS, "루트 페이지!"));
})

// error handling
app.use((req, res, next) => {
    const err = new BaseError(status.NOT_FOUND);
    next(err);
});
// (...)
2. health.route.js
// health.route.js

import express from "express";
import { healthController } from "../controllers/health.controller.js";

export const healthRoute = express.Router();

healthRoute.get('', healthController)
3. health.controller.js
// health.controller.js

export const healthController = (req, res, next) => {
    res.send("HELLO, I'm Healthy!");
};
4. 최종 배포
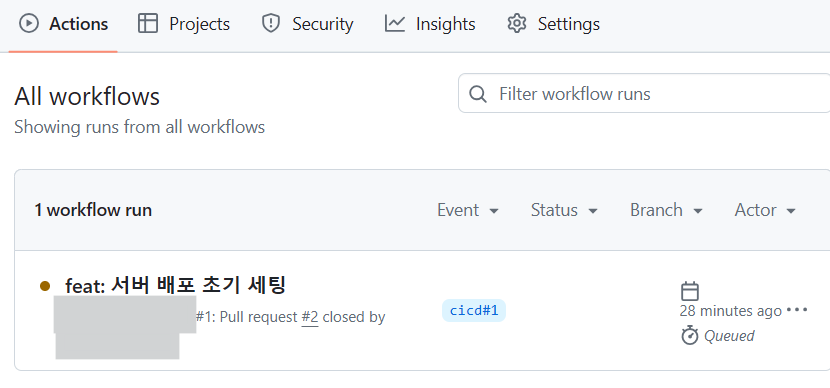
이제 커밋 후 dev 브랜치에 머지하면 github action이 실행될 것이다.
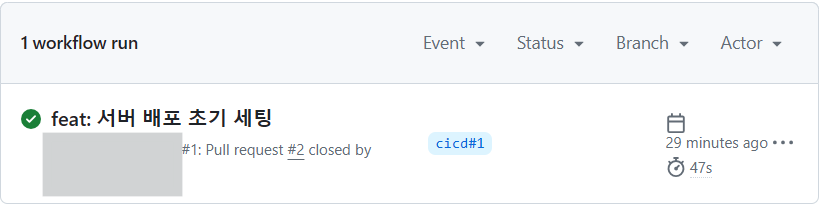
성공하면 아래처럼 초록색으로 바뀐다.
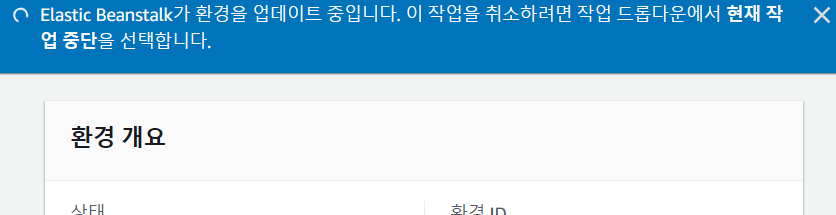
이후 elastic beanstalk 환경으로 가면 업데이트를 시작한다.
하단 이벤트를 보면 내가 github action으로 보낸 레포지토리가 새로운 인스턴스로 생성된 것을 확인할 수 있다.

문제 없이 잘 실행되는 것이 확인되면 이전 인스턴스는 삭제된다.

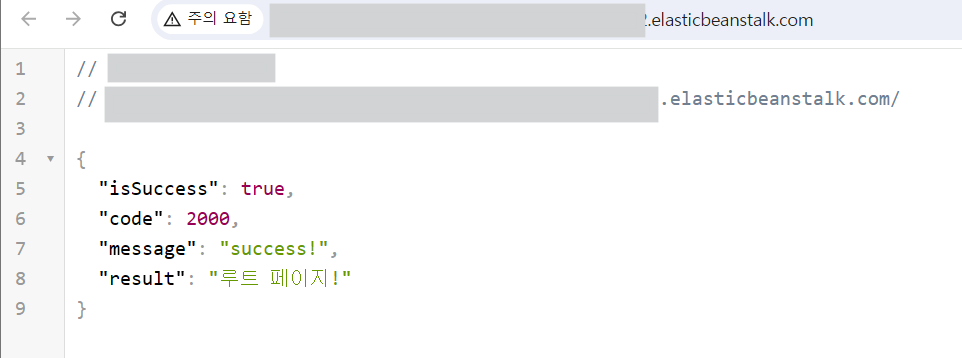
이후 성공이라고 뜨고 도메인으로 이동하면 내가 설정했던 루트 페이지로 이동한다.
'Server > node.js' 카테고리의 다른 글
| [node.js] DB 연동 (0) | 2024.08.31 |
|---|---|
| [AWS] S3 파일 업로드 - node.js (0) | 2024.08.29 |
| [CICD] Node.js + Github Action + Elastic Beanstalk 무중단 배포 (2) (0) | 2024.08.28 |
| [CICD] Node.js + Github Action + Elastic Beanstalk 무중단 배포 (1) (0) | 2024.08.28 |
| [aws] NGINX에서의 정적콘텐츠 호스팅 - vscode (0) | 2024.08.21 |